Last updated: January 6th 2017
A month after publishing this post, Pebble was acquired by Fitbit and if you haven’t seen my reaction on Twitter, I’ll have you know that I’m not very happy about it. Fitbit has vowed to ensure all active Pebble devices will stay running through 2017 ~https://developer.pebble.com/blog/2016/12/14/first-steps-forward-with-fitbit/~ (dead link), however with all things I am skeptical.
From Dec 8th 2016 on, here be dragons.
————
tl;dr: I built and published my first watchface using RockyJS, available on the ~Pebble~ Rebble app store! I wouldn’t mind if you went there gave it a big ole’ ❤ 😁
The source is also available on github.
I owned a Fitbit Charge HR, but I grew out of it. Wanting something else, the Pebble Time device seemed to fit my checklist of “wants and needs”. The hackability of the Pebble, the community, and the ecosystem are what drew me to it. I wasn’t a fan of the original device using a black and white e-ink display, but when the colour e-ink display was announced I became invested.

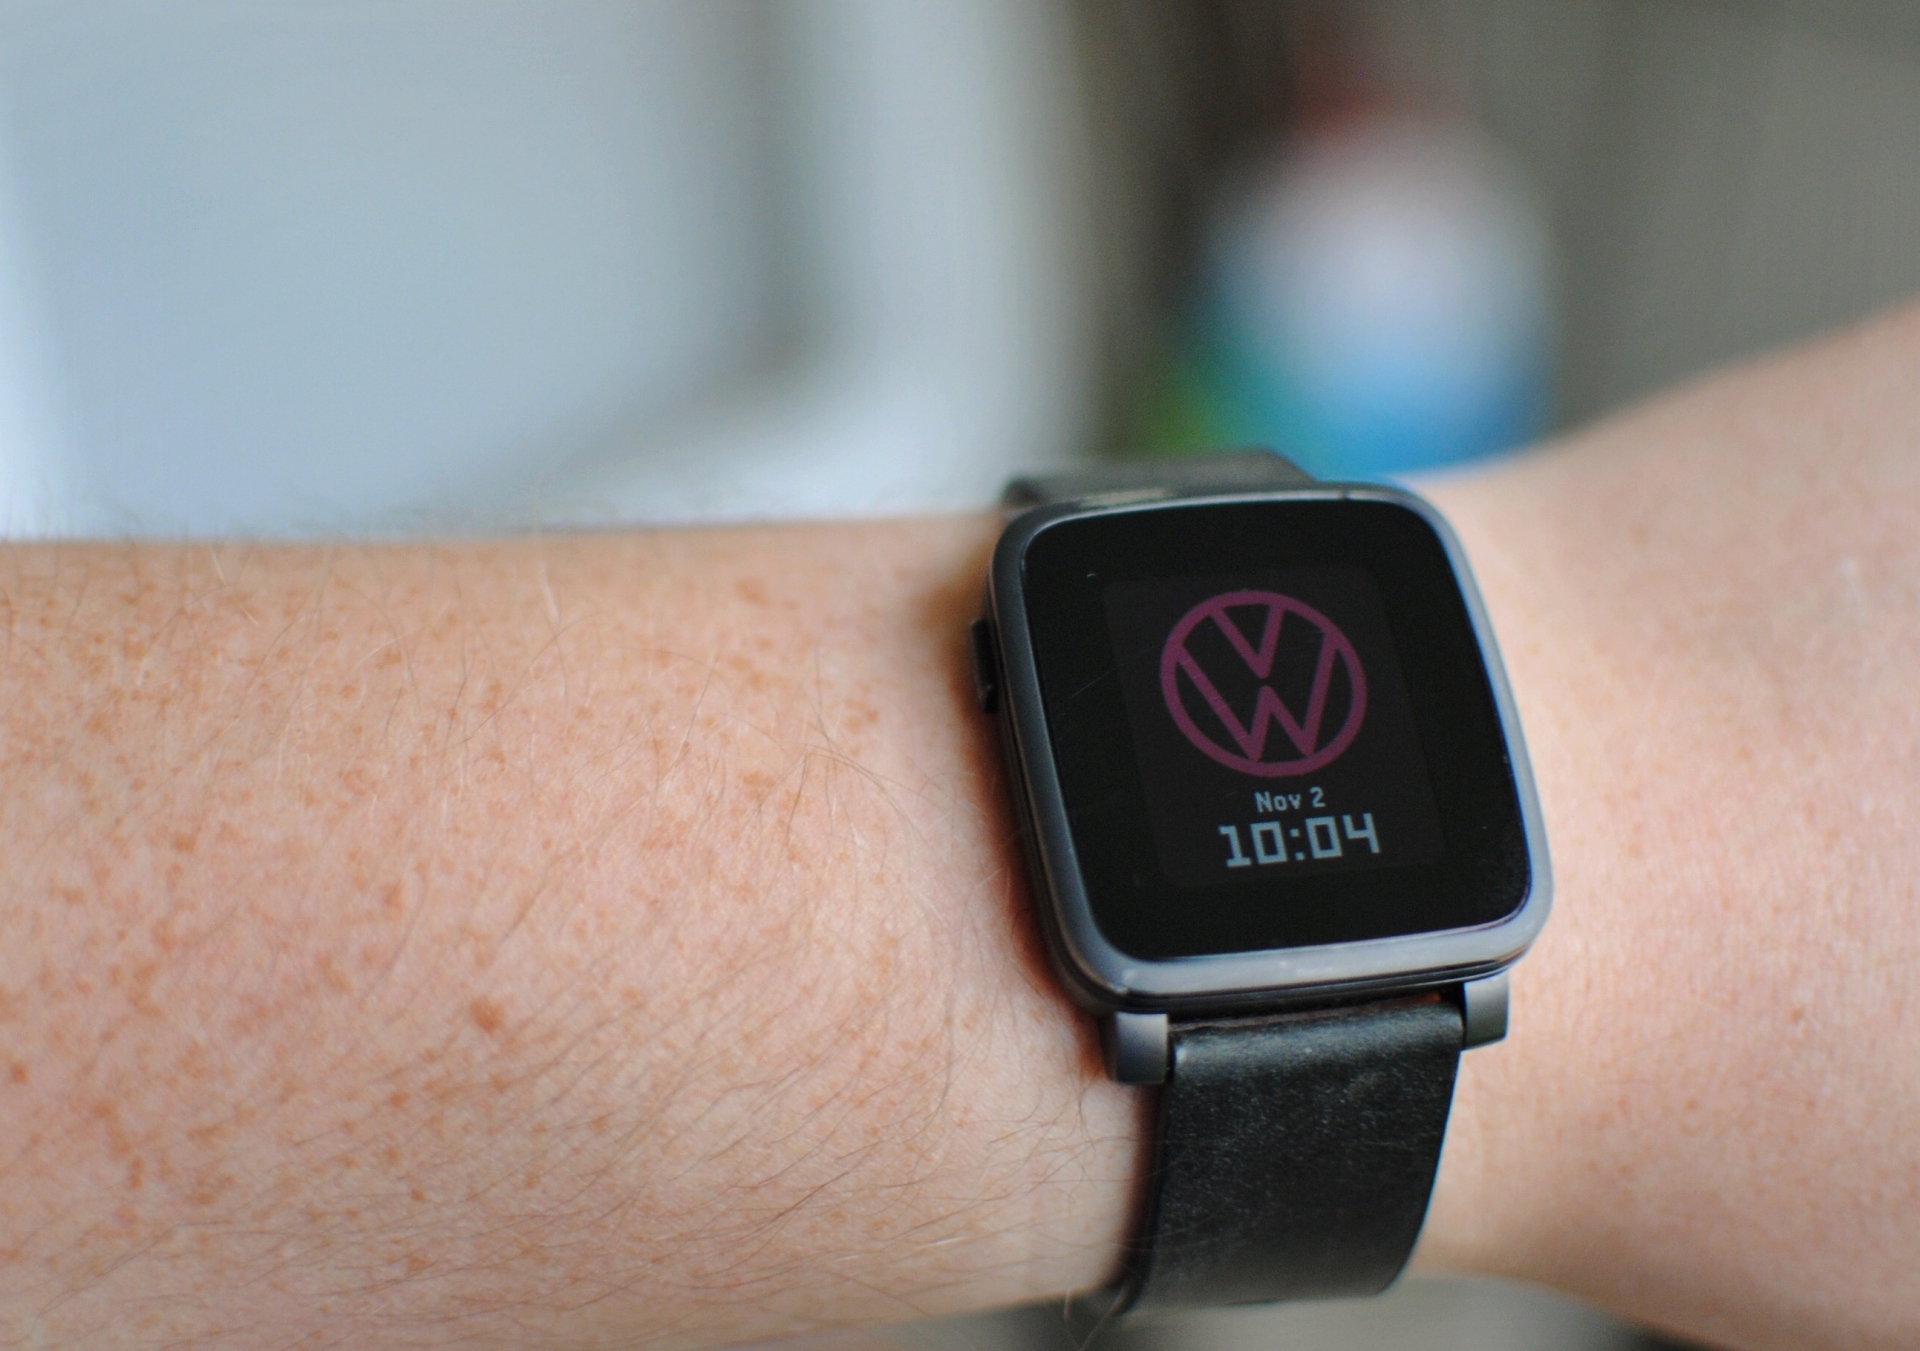
My Pebble Time Steel
After getting my Pebble, I started looking up what I can do to develop for it. While reading through the documentation, I realized I’d rather not learn C language to write apps. The C apps do use a tiny bit of Javascript to glue it to the phone’s app using PebbleKit, but that’s a small chunk of code. Fortunately, you can use RockyJS to write watchfaces completely in Javascript. RockyJS is a developing framework for building embedded Javascript watchapps ~https://developer.pebble.com/blog/2016/08/15/introducing-rockyjs-watchfaces/~ (dead link). As of the most recent major Pebble firmware update, there is now an embedded engine that runs Javascript on the device. This allows RockyJS-built watchapps to run natively on the Pebble watch without compiling to C.
Prerequisites #
The only prerequisites you need to start developing RockyJS watchfaces are a slight knowledge of Javascript, and the Canvas API. Everything else you need to know is an added bonus and you’ll see why in the next few sections.
The basic concept behind RockyJS is thus: it abstracts the concept of the canvas away from you (because you’re rendering to a fixed screen size), and instead provides you with a context object to work with that is populated with the API methods available. From the context object you then call drawing commands like ctx.arc, ctx.rect, etc.
As you can see in the example below RockyJS is event-based, so it is most performant when rendering when certain events fire such as minutechange or hourchange (on the minute and top of the hour.)
// The draw event is called when the watchface is initialized
rocky.on('draw', function (event) {
  // The draw event contains the context object that you use to draw to
  var ctx = event.context
  // Do stuff with the ctx object at this point
  ...
})

// When the minutechange event fires (every minute on the minute)
// request that rocky draws to the screen
rocky.on('minutechange', function (event) {
  rocky.requestDraw()
})
Getting started #
There are a few routes you can take to develop watchfaces:
CloudPebble #
If you’re getting started, CloudPebble is a great place to begin. It’s currently the only Pebble IDE/editor with emulator support built-in for every Pebble SDK and platform. You can even connect your physical Pebble device to your CloudPebble account and push the project build to your watch in real time.

Setting up CloudPebble support in the iOS Pebble app goes like so:

My Pebble Time Steel

My Pebble Time Steel

My Pebble Time Steel
Once you have the Developer mode turned on, the CloudPebble Connection will remain “waiting” until you connect it to your CloudPebble account and push your first project through your phone to your Pebble device.
To do this, head over to CloudPebble and create an account ~https://auth.getpebble.com/users/sign_up~ (dead link). Once set up, you can create a new project. Ensure the Project Type is set as Rocky.js. Now you can start coding in the editor!
When you’ve got a project going and it builds correctly in the emulator, you can deploy the build file to your Pebble device. Go to Compilation in the sidebar, then ensure that Phone is selected instead of Emulator. If you’ve configured all of this correctly, you should be able to click Install and Run. Watch your pebble device as it loads your watchface then displays it!
Local Development #
Pebble has an SDK that you can download with brew by running:
brew update && brew upgrade pebble-sdk && pebble sdk install latest
By allowing devs to develop locally using the SDK, you can do the same things that CloudPebble offers but on your local computer. The SDK ships with an emulator and allows you to deploy to your physical Pebble device as well. There is also a chance for you to build out your own build steps/processes and use pEmulator ~https://github.com/blendsoul/pemulator~ (dead link) in the browser.
Installing your watchface on a physical Pebble device is simple:
pebble build
pebble install [--phone <IP ADDR>]
Bugs & issues #
There are a few bugs/issues using RockyJS for watchfaces as of this writing:
- Unsupported web APIs and not all
canvasrendering context methods are avilable for use in a RockyJS watchface, check here for API parity ~https://developer.pebble.com/docs/rockyjs/~ (domain gone) - Can’t write true “apps”, only watchface apps are supported right now
- Using ECMAScript right now is a no-go, transpiling might work but I haven’t tested it
Resources #
There’s not a lot of resources out there for RockyJS development quite yet, so the pickings are a bit slim. However, here are some of the resources I have found incredibly useful:
- The community is a great place to join up and learn from ~https://developer.pebble.com/community/online/~
- RockyJS watchface tutorial
- Develop locally with an in-browser Pebble device emulator (not a real emulator though) called pEmulator